Table of Contents
Overview
AgreeDo was designed to be used intuitively without the need to reading any manuals. However, AgreeDo offers many useful “hidden” features, so it might be worthwhile to read through this manual to discover the whole power of the tool.
AgreeDo is mainly a tool to write and manage agendas and minutes for meetings. But there’s more. The main purpose of AgreeDo is to
- Prepare
- Run
- Follow Up
meetings. This helps you to run your meetings efficiently and in a timely manner.
This is important, because meetings are there for a reason:
- Spread knowledge
- Discuss and distribute tasks
- Make decisions
This manual assumes that you already have signed up for AgreeDo and that you are logged in. Click here to sign up for your free account if you haven’t signed up yet.
Step 1: Preparing a Meeting
To prepare a meeting, the facilitator creates a new meeting in AgreeDo. There are different options to accomplish this, but for the beginning we’ll take the easy way:
Create a new Meeting
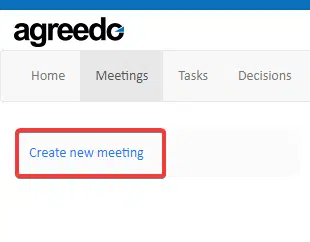
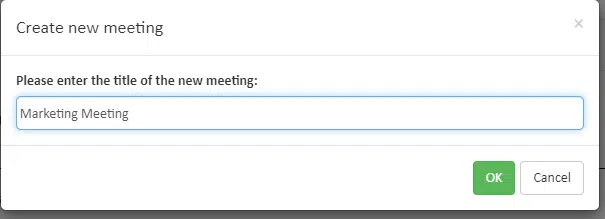
After logging in, “Create new meeting” is available on the home screen. You can then enter the title of the meeting:
After the meeting has been created, you’re redirected to the “Schedule Meeting” dialog.
Schedule the Meeting
You now can schedule the date and time for the meeting, chose the location and invite the participants.
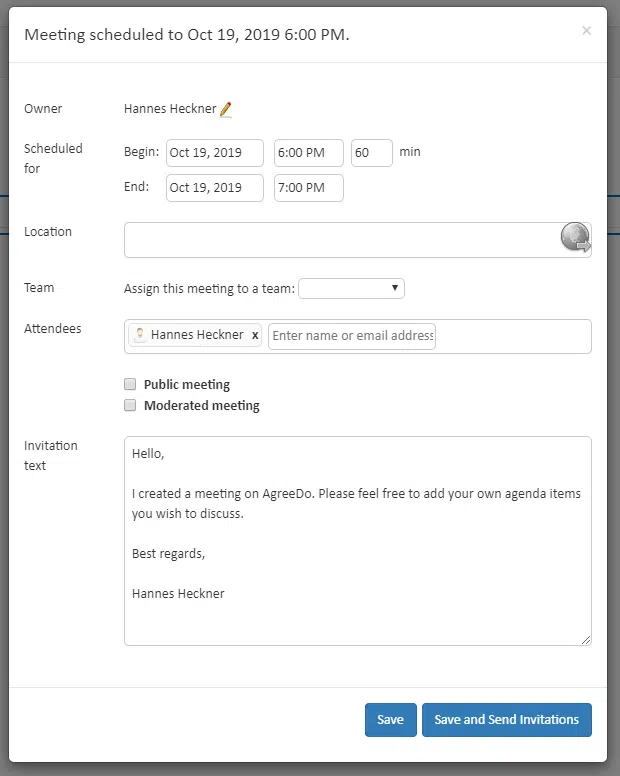
To add attendees you can type their email addresses next to the label “Attendees”. If they already have signed up, AgreeDo replaces their email adresses with their names.
Make sure to update the invitation text so participants know what they can expect in the upcoming meeting. AgreeDo offers some more options on access rights for attendees. Find out more about this in the article “Types of Meetings: Default, Moderated and Public Meetings”.
Finally, click on “Save and Send Invitations” to send the invitation email to all participants.
Writing the Agenda: 4 Item Types
The agenda of a meeting consists of lines which we call agenda items. When clicking on the first item, it is highlighted. You now can enter the agenda item’s text:

AgreeDo offers 4 different types for items:
- Info items
- Topics
- Tasks
- Decisions
Instead of clicking in a line, you can also use the arrow buttons at the top or the cursor keys on your keyboard.
When typing an item, you can press “Enter” at the end. This will create a new item below and jump directly to it, so that you can continue typing.
Using the menu bar above the meeting, you can change the item’s type:

The following table explains the four item types:
| Icon | Title | Description | Shortcut |
| Info | Contains important information, questions, notes. So info items are the most general ones. | Alt+i | |
| Topic | Contains headlines and groups all items underneath. Headlines are printed in bold letters. | Alt+h | |
| Task | Contains a task description. You may additionally schedule a task and assign it to an assignee. | Alt+t | |
| Decision | Describes a decision taken in this meeting. Decisions are printed in red. | Alt+d |
Please note that the shortcuts might require a different key instead of Alt key, depending on the browser and OS you’re using. Try Alt+Shift or Command instead.
Take your notes in “Info” items
The item type “info” is used to store notes and questions which are important for the discussion in the meeting. Examples:
- Status reports (“Last quarter, we achieved xyz”)
- Issues to be discussed (“Should we increase our marketing budget?”)
- General notes and important information not covered by other item types
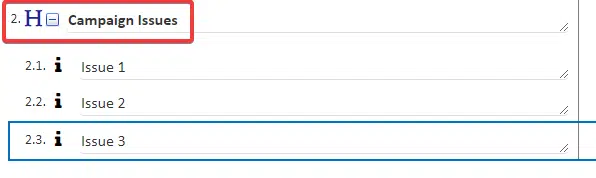
Info items can be identified by the ![]() icon at the beginning of the line.
icon at the beginning of the line.
To keep your agenda or meeting minutes concise, make sure to not add too much text to your info items.
Structuring your agenda using “Topics”
Topic items can be used to group multiple items and add a heading to them.
Topics can be nested to add more structure:
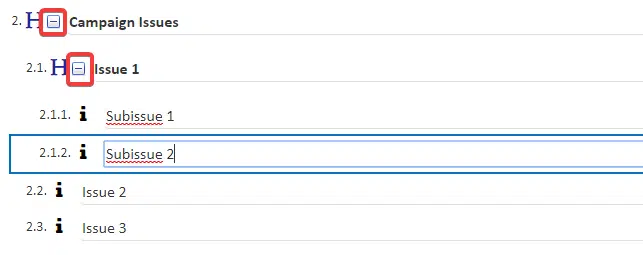
By clicking on the “-” (highlighted in red in the previous image), you can collapse a topic to focus the discussion. Use the “+” to expand it again.
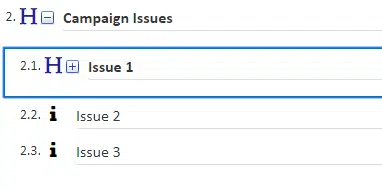
There’s also a global expand /collapse button on the top of the agenda to expand / collapse all topics (see highlighted “-” below):

Clicking the button with the red rectangle in the picture above will lead to the following result:
Topics can be nested up to 4 levels.
AgreeDo creates a new info item below a topic, when pressing enter on a topic. This new item will also be nested one level below.
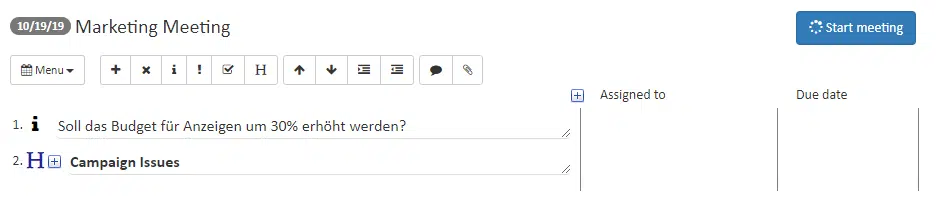
Example: when typing in line “2.” and pressing enter, a new info item with the number “2.1” will be created.
You can also manually indent/outdent items by using the following buttons in the menu bar:
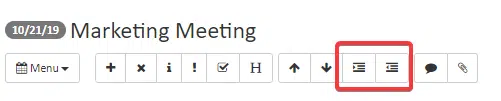
Alternatively, you can also use the keyboard shortcut Alt+”Cursor Right” to indent, and Alt+”Cursor Left” to achieve the opposite.
Dealing with Tasks
Tasks are another item type in AgreeDo. Besides its text, a task has three additional properties which are all optional:
- Progress (in %), left of the text (see the red rectangle in the following image). It indicates whether the task is new, in progress or has been completed (100%)
- Assignee: person responsible to handle the task. To assign a task simple enter the name or email of the responsible person.
- Due date: set the due date for the task.

Note: Assignees and due dates can only be set on tasks. The column remains empty for all other item types.
Using Decisions
Decisions are another item type, used to capture decisions made in the meeting. Normally items are created during meetings when all attendees have taken the decision. So it is normally not used during meeting preparation.
After finishing our agenda, we’ll continue with how to use AgreeDo to take your meeting minutes in the next part.